Combine 2 frames and flash techniques
How I got this shot:
FRAME ONE (moving from the doorway)
Repeating flash on my SB-900 speedlight to get this portrait. Set to 1/128, flash = 24x, 20Hz, 1.6 seconds. 150 ISO
FRAME TWO (standing in front of the second doorway)
Rear curtain flash (should have been set to Slow). 1.6 seconds, 150 ISO.
Both frames were overlaid to create this picture. Touch ups done in Lightroom 3.
Why use 2 different flash techniques?
Had I used the same technique for both frames then the second one, the one in which I’m still standing in the doorway (frame 2), then it would have been severely overexposed when the first frame is added, due to the amount of power the flash emits.
The repeating flash technique is typically used for moving objects. If you’re not sure what this is, then imagine the strobe light from your favorite club. That’s what happens. You should use a tripod or a flat surface because you’re going to need to keep that shutter open for a while.
There are plenty of good tutorials about how to use repeating flash. Seems complicated at first but then it’s pretty easy.

My shoddy attempt at Dave Hill’s Style with pleasant results
I’m a voracious reader of photography blogs. A post I read on one of these sites discussed how to get that Dave Hill “look” in Lightroom 3 and Photoshop CS5. I followed the instructions but somehow failed. Despite this, I created a preset that allows me to make my pictures quite interesting. I literally named my preset “Shitty Dave Hill Attempt.” I haven’t implemented PS yet but I’m liking the results I’m getting in Lightroom. It must also be mentioned that lighting is everything in photography, obviously, so it’s important to focus on the lighting and composition first before snapping the photo.
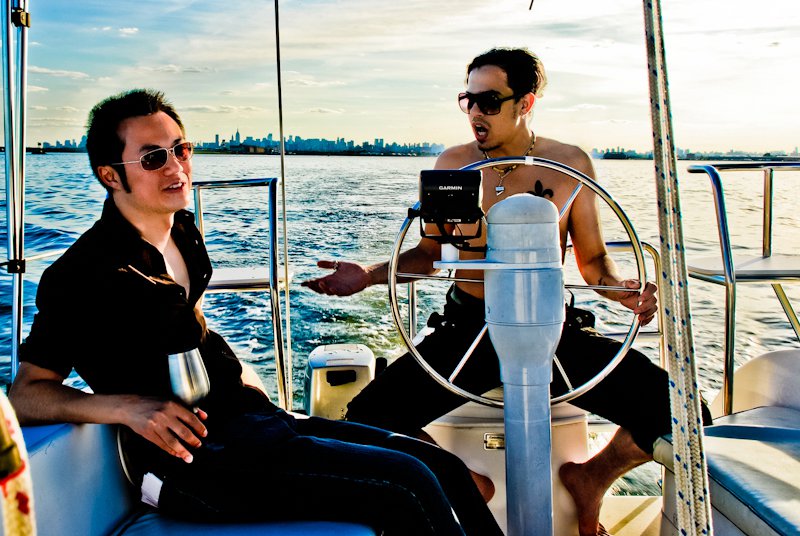
After I applied this preset in Lightroom, I softened our bodies, used more clarity to achieve more detail and contrast on the buildings and water, and brightened the highlights of our faces and parts of our hair lines to get the illusion of sunlight tracing our outlines. Poetic shit.
So out of a mistake came something I consider to be a nice effect.
The picture below was taken by the captain of the sailboat (Jerry aka Jerr Bear), using my Nikon D80 with Tiffen polarizer on the lens. I’m on the right, piloting this sweet ass sail boat, while my friend Jason is on the left, casually sipping from his sippy cup. Here we are, talking shit and drinking wine. Very Long Island of us.
Check out the before and after:
BEFORE. Nothing at all done to it. Just a RAW image converted into JPG.

AFTER. Settings above have been applied to RAW image and then converted into JPG. A bit more stylized. A bit more work but a much more “artistic” appearance than the previous shot.


